
Cold Plunge: How to Start, Build Tolerance, and Stay Consistent
Cold water immersion has moved from elite training environments into home wellness routines — and for good reason.
Deliberate cold exposure creates a rapid and measurable physiological response. Heart rate increases, breathing shifts, and peripheral blood vessels constrict as the body adjusts to the temperature change.
Over time, repeated exposure leads to adaptation. The initial shock becomes more controlled, breathing stabilizes more quickly, and the overall experience becomes easier to sustain.
This guide covers how to start safely, how to build tolerance progressively, and how to structure cold exposure so it becomes a consistent part of your routine.
What Happens During Cold Exposure
Cold immersion triggers a coordinated response across multiple systems.
Acute Response (First 30–90 Seconds)
- Rapid increase in breathing rate
- Elevated heart rate
- Peripheral vasoconstriction (blood flow shifts away from extremities)
This is often referred to as the “cold shock response.” It is most intense during early sessions and becomes more manageable with repeated exposure.
Short-Term Adaptation (Within Minutes)
As breathing becomes controlled:
- Heart rate begins to stabilize
- Perceived discomfort decreases
- The body begins conserving heat more efficiently
This phase is where most of the session takes place once you settle in.
Rewarming Phase (After Exit)
After leaving the water:
- Peripheral circulation gradually increases
- Body temperature begins returning toward baseline
- Mild shivering may occur as part of natural thermoregulation
This rewarming phase is an important part of the overall exposure and should not be rushed.
Why Cold Exposure Is Used
Cold immersion is commonly incorporated into routines focused on:
- alertness and mental clarity
- perceived energy levels
- adaptation to environmental stress
- structured recovery practices
Research has also explored how repeated cold exposure may influence thermogenesis and metabolic activity over time, particularly through activation of brown adipose tissue.
The key variable across all use cases is consistency.
Your Beginner Cold Plunge Protocol
The most common mistake is starting too cold, for too long, too quickly.
Cold adaptation is progressive. Build tolerance gradually.
Week 1–2: Establish Baseline
- Temperature: 55–60°F (13–16°C)
- Duration: 2–3 minutes
- Frequency: 3 sessions per week
This range creates a strong but manageable response.
Focus:
- controlling breathing
- staying calm during entry
- exiting before discomfort becomes overwhelming
Breathing (Critical Skill)
The first 30–60 seconds determine the quality of the session.
Use:
- slow nasal or controlled mouth breathing
- longer exhales than inhales
This helps regulate the initial response and allows you to remain in control.
Week 3–4: Build Tolerance
- Temperature: 50–55°F (10–13°C)
- Duration: 3–5 minutes
- Frequency: 4–5 sessions per week
At this stage, most people experience:
- reduced intensity of the initial response
- faster breathing control
- improved comfort during immersion
Progression Beyond Week 4
- Maintain temperature within 50–59°F (10–15°C)
- Adjust duration within 3–5 minutes
Going colder is not required for most benefits. Consistency within this range is more important than pushing extremes.
Step-by-Step Session Structure
Use this framework consistently:
- Prepare with 4–5 slow breaths before entering
- Enter calmly — avoid jumping in
- Submerge to the neck when possible
- Focus on breathing for the first minute
- Remain still once settled
- Exit while still in control
Consistency of structure improves adaptation over time.
After the Plunge: The Rewarming Phase
After exiting:
- Allow 5–10 minutes for natural rewarming
- Avoid immediately entering a hot shower or sauna
- Use light movement or dry clothing to assist warming
This phase supports the body’s natural thermoregulation process and is part of the overall adaptation.
Pairing Cold Plunge with Sauna or Red Light
Cold exposure can be used independently or combined with other tools.
Contrast Therapy (Sauna + Cold)
- Sauna: 170–185°F (77–85°C) for 15–20 minutes
- Cold plunge: 50–59°F (10–15°C) for 3–5 minutes
- Rest: 10 minutes
- Repeat 2–3 rounds
Alternating heat and cold creates a repeated shift in vascular response and is commonly used in recovery-focused routines.
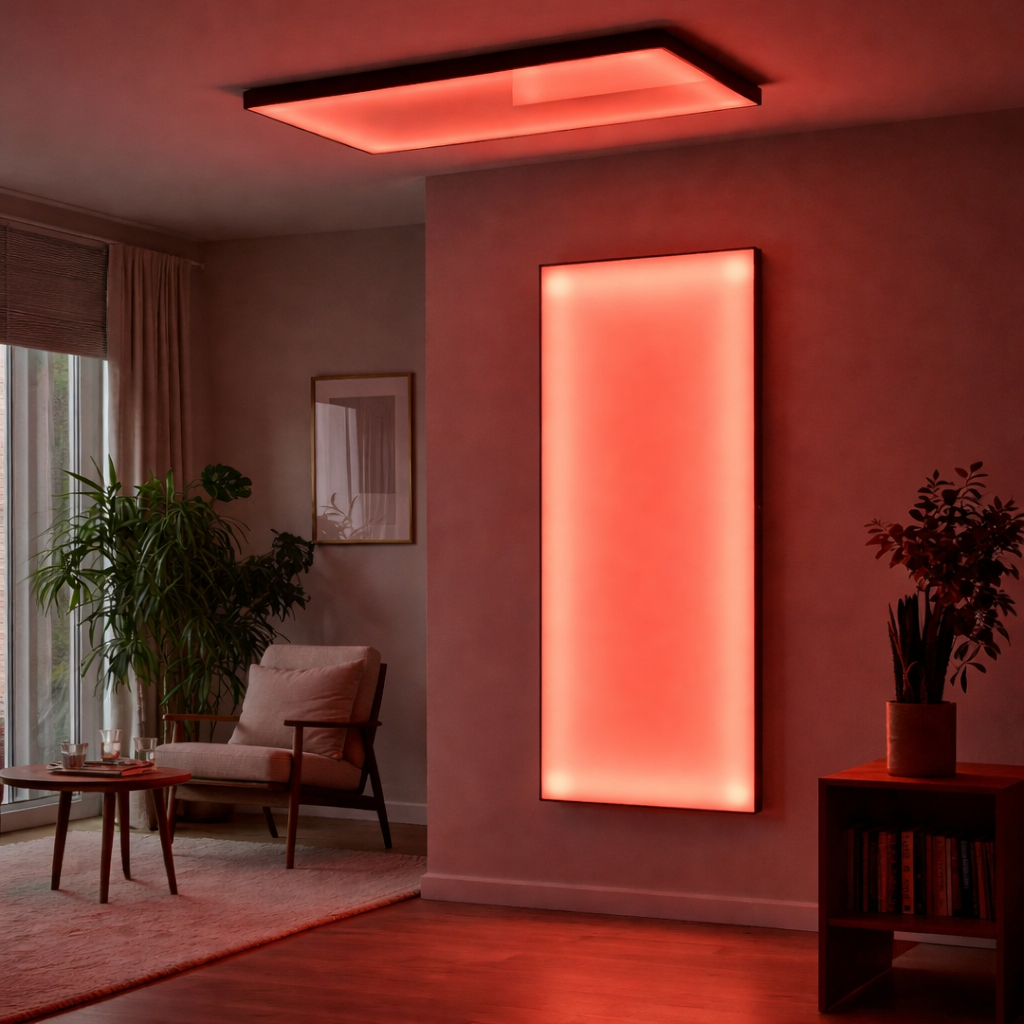
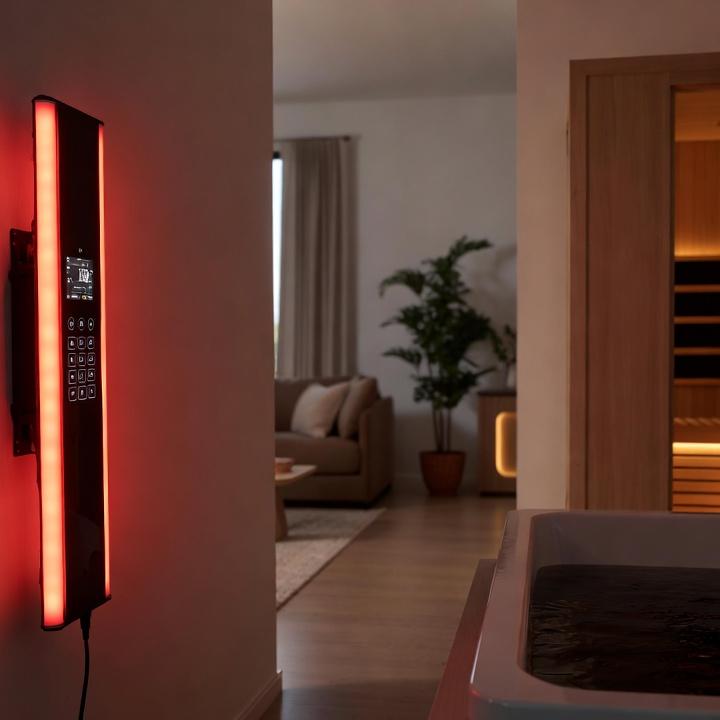
Red Light Integration
Red and near-infrared light (660nm / 850nm) is often used:
- before heat exposure
- after cold exposure
- or as a separate daily session
Typical duration:
- 10–20 minutes
This adds a light-based component to a broader recovery system.
Safety: Who Should Use Caution
Cold water immersion is widely used, but certain individuals should consult a healthcare professional before starting:
- cardiovascular conditions
- history of arrhythmia
- uncontrolled blood pressure
- cold sensitivity conditions
- pregnancy
Important Safety Guidelines
- Do not perform breath-holding techniques in or near water
- Enter with controlled breathing
- Keep early sessions moderate
- Have someone nearby during initial sessions
Exit immediately if you experience:
- dizziness
- chest discomfort
- loss of coordination
- disorientation
What to Expect Over Time
Week 1
The cold shock response is strong. Sessions feel intense but manageable.
Week 2–3
Breathing becomes easier to control. Entry feels less abrupt.
Week 4–6
Cold exposure becomes more predictable. Sessions require less mental effort.
Month 2+
The practice becomes routine. Adaptation allows for consistent, repeatable sessions without excessive stress.
Building a Sustainable Routine
Cold exposure works best when it is:
- consistent
- structured
- repeatable
Short, frequent sessions:
- are easier to maintain
- support adaptation over time
- reduce the likelihood of burnout
For most people:
- 3–5 sessions per week is an effective and sustainable range
|
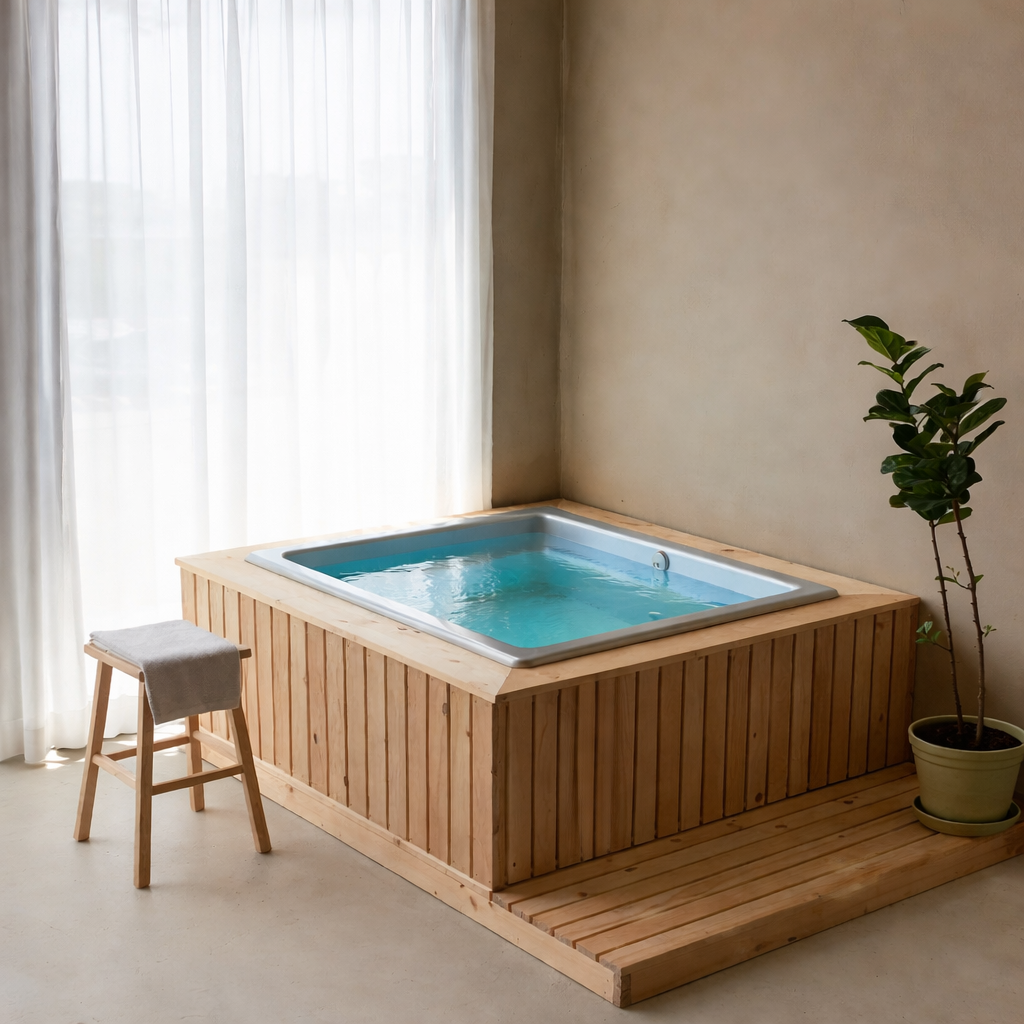
Ready to Start? Build Your Cold Therapy Setup. The right equipment makes the difference between a practice you maintain and one you abandon. A purpose-built cold plunge maintains precise, programmable temperature year-round — no ice runs, no variable conditions, no setup time. Just get in. |
Scientific References
1. Søberg S et al. (2021). Cell Reports Medicine https://pubmed.ncbi.nlm.nih.gov/34755128/
2. Yankouskaya A et al. (2023). Biology https://pubmed.ncbi.nlm.nih.gov/36829572/
3. Moore E et al. (2023). British Journal of Sports Medicine https://bjsm.bmj.com/content/57/10/620
Disclaimer
|
This content is for educational purposes only and is not intended as medical advice. Always consult a qualified healthcare professional before beginning any wellness or health protocol. |